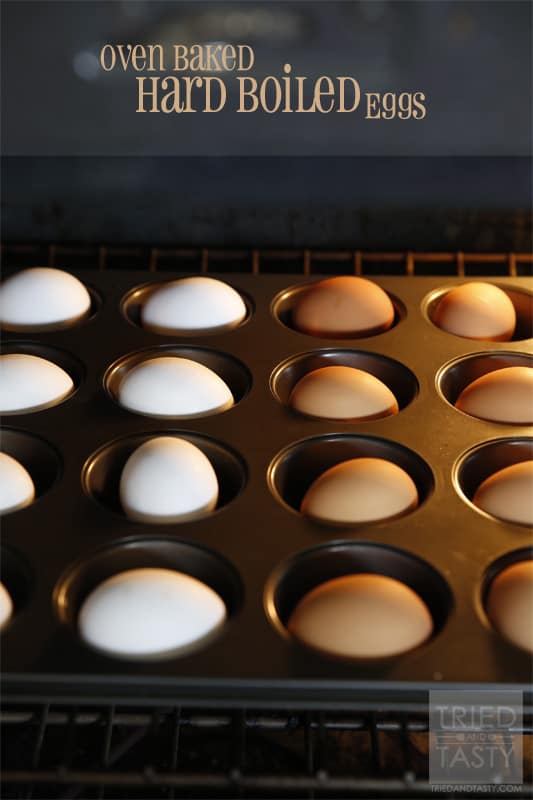
If you’ve been around Tried and Tasty for a little while, you know that there are certain things I’m trying to cut out of my kitchen. Artificial food coloring is one of them, I’ll talk more about that in a moment. With Easter rapidly approaching, I knew that mom’s everywhere would soon be thinking about coloring Easter eggs for the hunts that will be taking place all over the country! I mean, who doesn’t love coloring eggs in prep for the big festivities? I know I’ve thoroughly enjoyed my fair share of dunking hard boiled eggs in the kitchen in dye and decorating over the years. In fact, if you missed it, I’ve got a great way to hard boil a large amount of eggs all at once. Check out yesterday’s post for Oven Baked Hard Boiled Eggs! It will make your life so much easier as you’re trying to handle putting baskets together, hiding eggs, and whipping together a wonderful meal all at the same time.
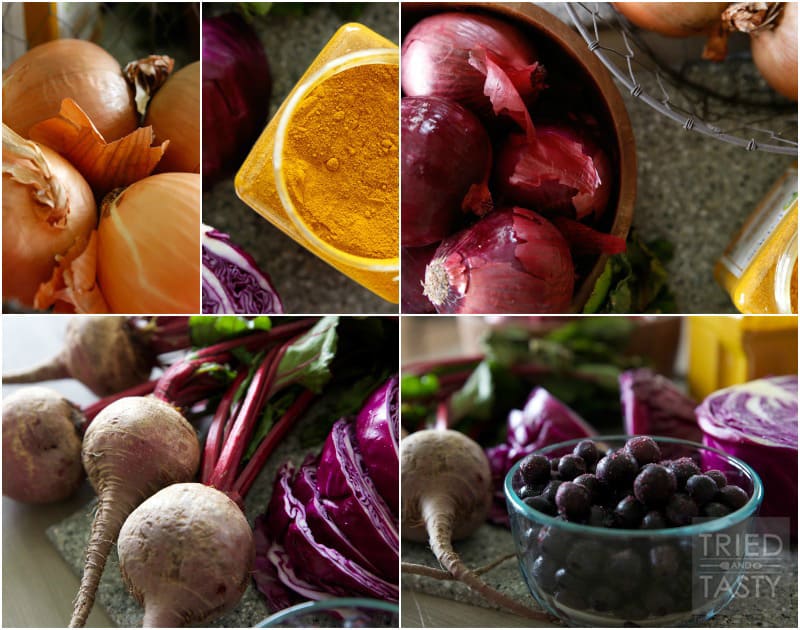
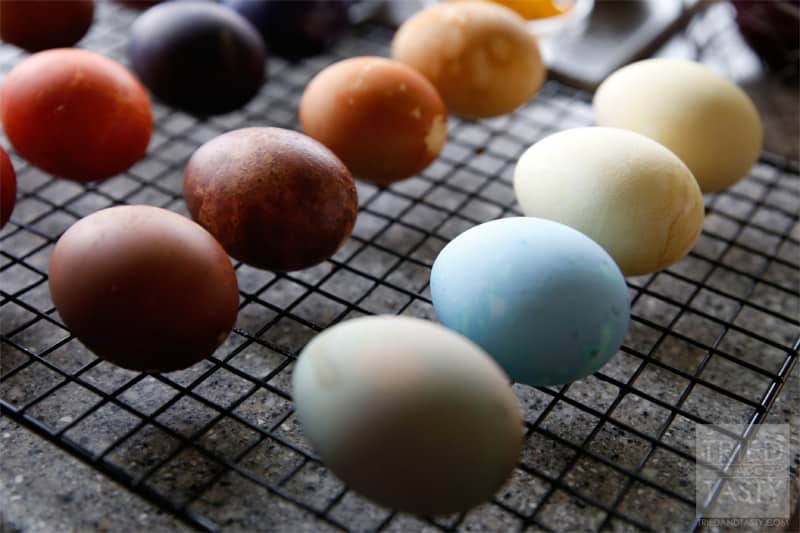
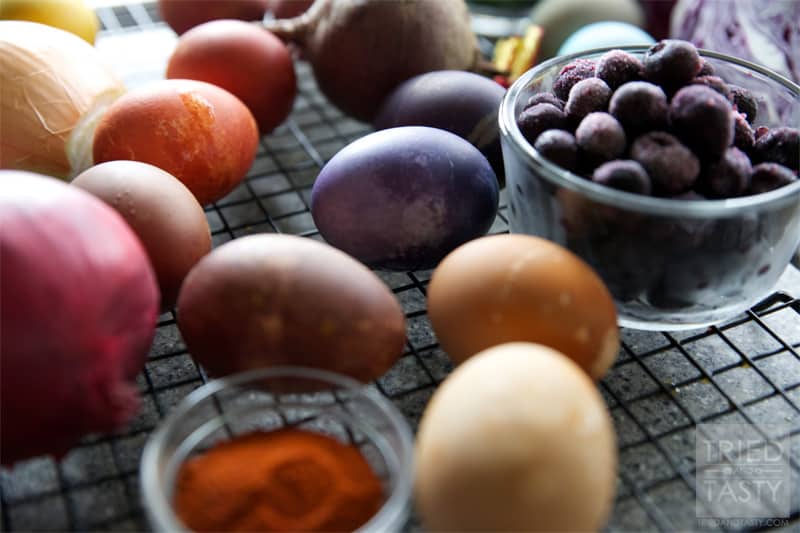
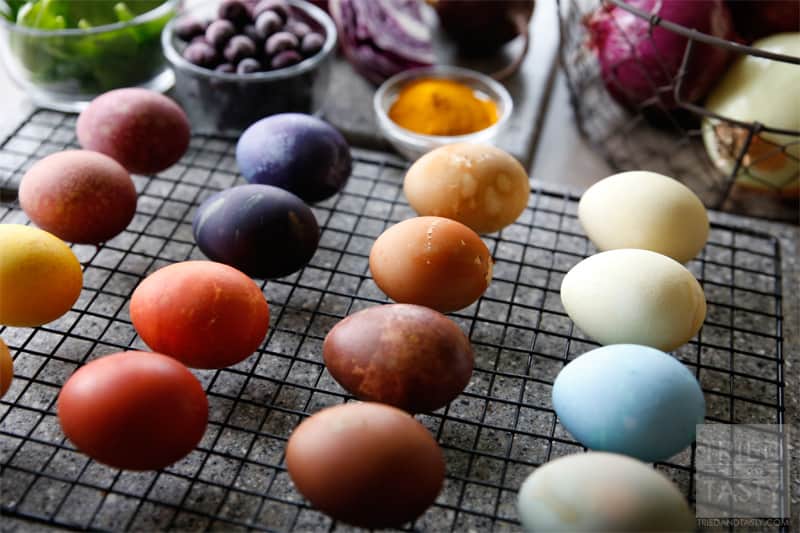
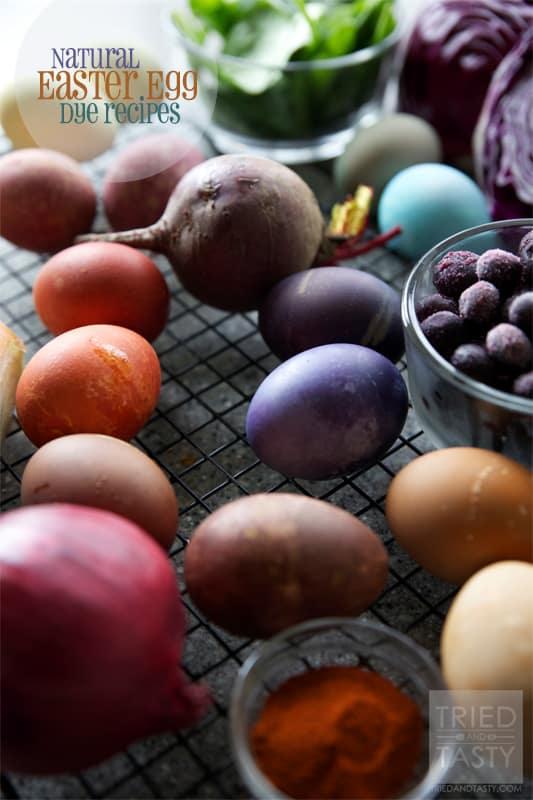
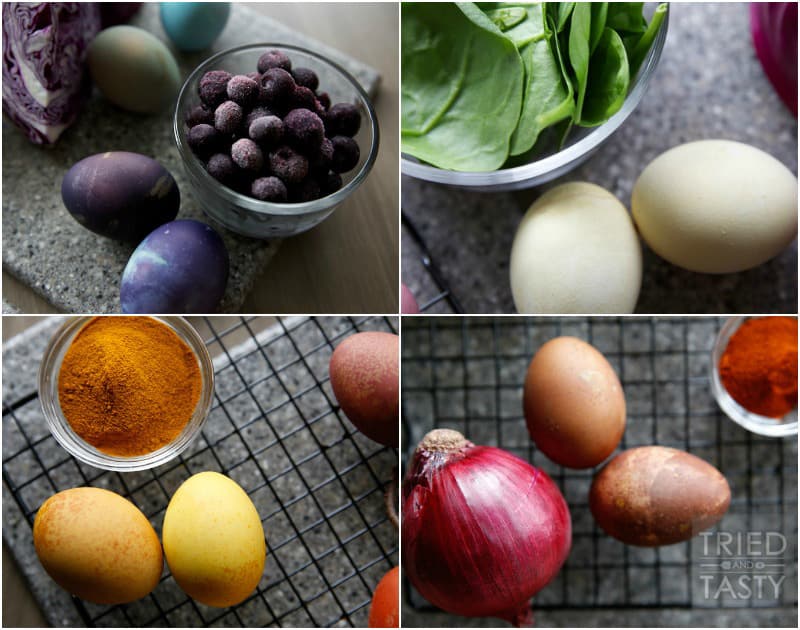
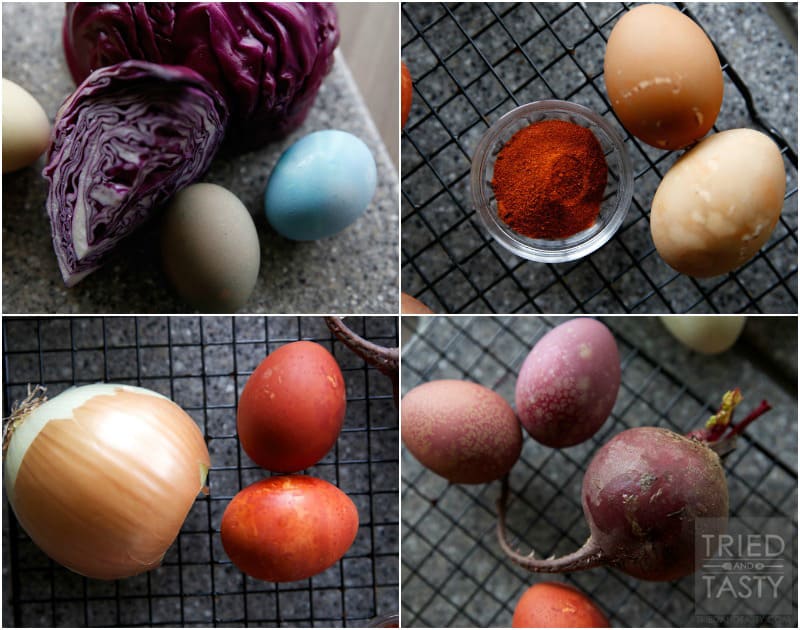
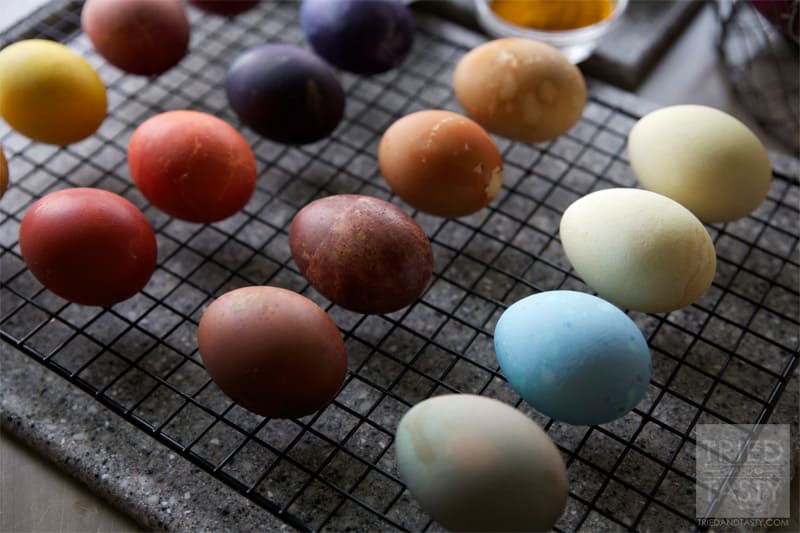
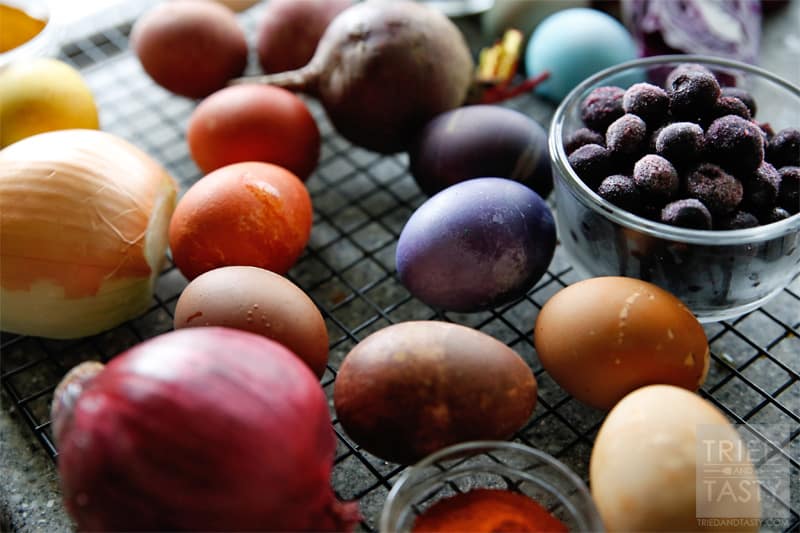
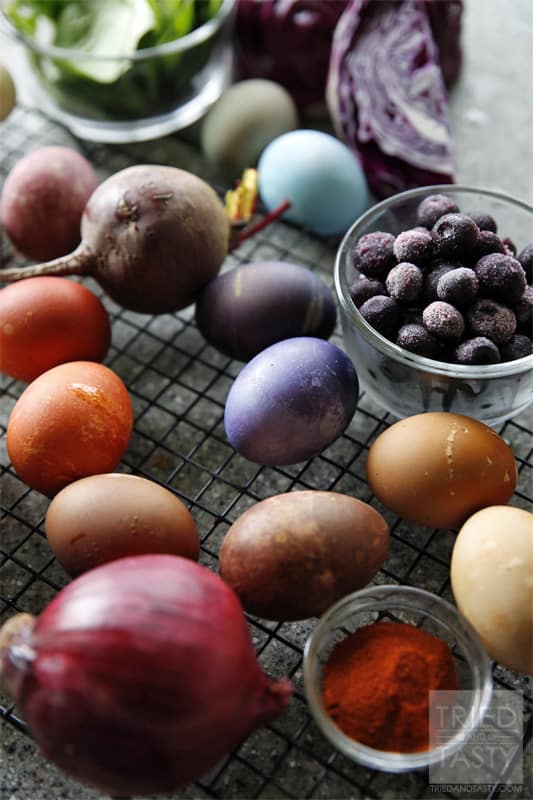
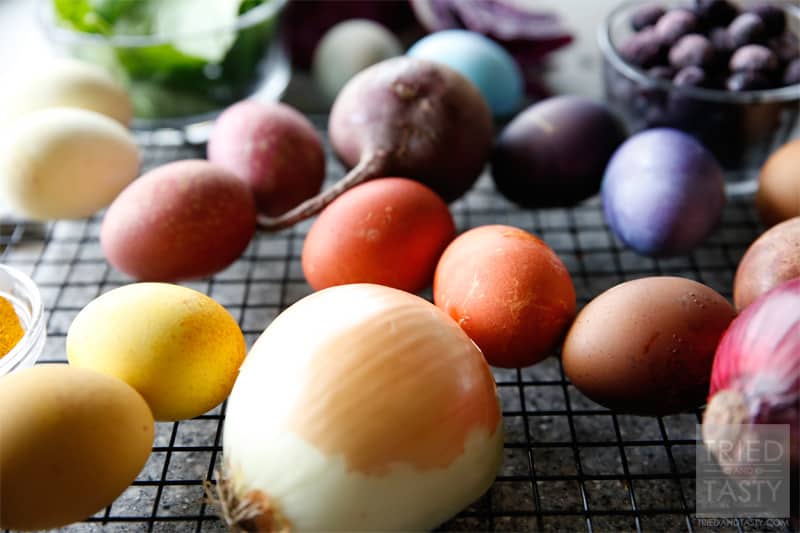
We’ve always got fruits and vegetables on hand, as my husband is a juicing fiend. I knew it would be easy to gather exactly what I needed to have a wide variety of colors. Brown onions, red onions, beets, blueberries, spinach, red cabbage, turmeric, and paprika. I was so excited to find out how each would turn out. For my experiment I decided to try the dye on both white & brown eggs. Most people dye with white, but I figured it would be nice to have a reference for each type. You can almost tell for each of the colors. In the pairs, you’ll find that the brown dyed egg is always on the left. The white dyed egg is on the right.
I was pleasantly surprised by all of them! In fact, it’s hard to pick a favorite. I like each one in their own way. I must say I was probably most impressed with the blueberries and most shocked by the red cabbage. It doesn’t make sense to me that red cabbage would create a blue dye. Does that shock you too? Or am I missing something obvious that should be clicking in my brain… but isn’t. I wished out of all of them that the green would have been darker (maybe because green is my favorite color?). After it was all said and done, I would have liked to have tried the green with kale or collard greens (both of which we also keep on hand for juicing). Maybe even a spinach/kale/collard combo would have made for a beautiful rich and vibrant green. Next time.
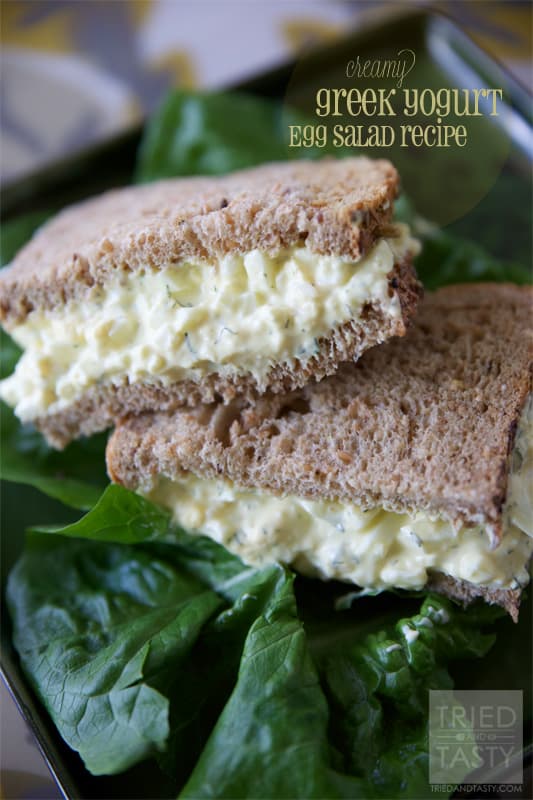
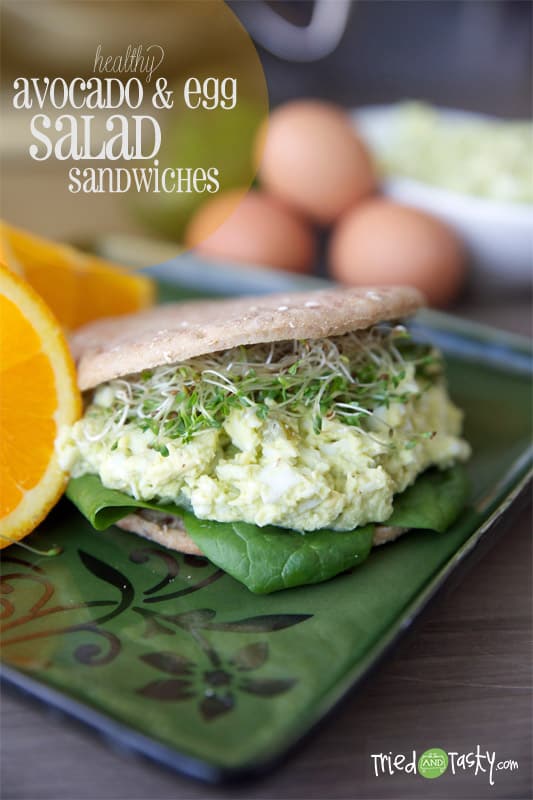
I know the question you are probably all thinking: did it affect the taste of your boiled eggs? Surprise: NO! Plus, even if it did, I feel a whole lot more comfortable with spinach juice seeping in to my egg than red #5. I’ve even eaten them plain – not mixed into Healthy Avocado & Egg Salad Sandwiches or my Creamy Greek Yogurt Egg Salad Recipe (both of which are fantastic recipes might I add!). So, without further adieu, let’s get to the recipes shall we?
Natural Easter Egg Dye Recipes (1)
Dye your Easter Eggs Naturally using this great alternative to artificial dyes and food coloring!
Ingredients
Blue
- 1/4 head red cabbage
- 2 tbsp white vinegar
- 4 c. water
Yellow/Light Orange
- 3 tbsp. turmeric
- 3 tbsp. white vinegar
- 6 c. water.
Dark Orange
- 3-4 brown onions; outside skins removed
- 4 c. water.
- 3 tbsp. white vinegar
Pink/Lavender
- 1 c. beets chopped
- 4 c. water
- 3 tbsp. white vinegar
Instructions
Blue
-
Cut cabbage into chunks and add to boiling water. Stir in vinegar. Let cool to room temperature and remove cabbage with a slotted spoon. Dye eggs for as little as 30 minutes, up to over-night.
Yellow/Light Orange
-
Add water, turmeric, and vinegar to pot; Bring to a boil, then lower heat. Allow the ingredients to simmer for 30 minutes. Strain dye into a bowl. Dye eggs for as little as 30 minutes, up to over-night.
Dark Orange
-
Add water, brown onion skins, and vinegar to pot; Bring to a boil, then lower heat. Allow the ingredients to simmer for 30 minutes. Strain dye into a bowl. Dye eggs for as little as 30 minutes, up to over-night.
Pink/Lavender
-
Pour water into pot and add beets. Bring water to a boil, add vinegar. Dip the eggs and leave until the desired shade of pink/lavender.
Recipe Notes
For the colors I achieved, I left all of my eggs in the dye overnight.
Natural Easter Egg Dye Recipes (2)
A great Easter Egg Dye Alternative! No artificial dyes or food coloring here!
Ingredients
Dark Purple
- 1 c. frozen blueberries
- 1 c. water
Tan/Light Brown
- 2 tbsp. paprika into
- 1 c. water
- 2 tsp. white vinegar
Dark Brown
- 3-4 red onions; outside skins removed
- 4 c. water.
- 3 tbsp. white vinegar
Green
- 3 c. spinach
- 4 c. water.
- 3 tbsp. white vinegar
Instructions
Dark Purple
-
Add water and blueberries to pot; Bring to a boil, then lower heat. Allow the ingredients to simmer for 30 minutes. Strain dye into a bowl. Dye eggs for as little as 30 minutes, up to over-night.
Tan/Light Brown
-
Stir paprika into boiling water; add vinegar. Allow the ingredients to simmer for 30 minutes. Strain dye into a bowl. Dye eggs for as little as 30 minutes, up to over-night.
Dark Brown
-
Add water, red onion skins, and vinegar to pot; Bring to a boil, then lower heat. Allow the ingredients to simmer for 30 minutes. Strain dye into a bowl. Dye eggs for as little as 30 minutes, up to over-night.
Green
-
Add water, spinach, and vinegar to pot; Bring to a boil, then lower heat. Allow the ingredients to simmer for 30 minutes. Strain dye into a bowl. Dye eggs for as little as 30 minutes, up to over-night.
Recipe Notes
For the colors I achieved, I left all of my eggs in the dye overnight.
I gathered these fabulous ideas from the following places: In The Know: Make Easter Eggs With Natural Ingredients, Martha Stewart: Dyeing Eggs Naturally, The Kitchn: Vibrant Eggs, Dyed Naturally, & BHG: All-Natural Easter Egg Dye Recipes. For more great ideas on how to stock your kitchen with healthy options check out these other great posts:
- Get Healthy in 2014: Kitchen Basics Part I
- Get Healthy in 2014: Kitchen Basics Part II
- Get Healthy in 2014: Kitchen Basics Part III
Try these great ways to make & use boiled eggs (or faux eggs!)!
Linking up with: Artsy Fartsy Mama

Jill
I love this idea but have a quick question. I can see the color developing as I simmer turmeric (yellow) and berries (deep reddish purple) but the spinach water isn’t turning green. Is there a problem using baby spinach or could there be another reason?
Yvonne, these eggs are beautiful! Such a fun way to dye eggs for Easter!
Yvonne
Thank you so much Lori! LOVE this way of doing it!
Laurie
Thanks Yvonne! My eggs turned out beautiful. I did three of your colors (pink, yellow, and blue) and then I tried a brown adapted from dye for Chinese crackled egg recipe using tea bags and soy sauce. Very fun!
To Maisie’s question above; you want to let your dyes cool to room temp before adding the eggs or you will end up cooking your eggs longer in the hot liquid. :)
Yvonne
Awesome! I’m so happy you tried it! So much fun for sure – and thank you for helping with Maisie’s question – things have been a little hectic, so I was a little behind on replying to comments… but now I’m all caught up!
Maisie
For the beets are the eggs in the pot on the stove still simmering or is the heat turned off?
Yvonne
Well, it’s a little late I’m sure – but ask Laurie said – you will want to cool the liquid first to room temp and then submerse your eggs for 30 minutes to overnight. If you tried it already, I hope it turned out for you – I love the color the natural dyes give!!
I want to print out these pictures and use them as kitchen decor. Seriously so pretty! I also had no idea about natural dies. We normally skip the egg coloring all together because I’m freaked out about it!
Yvonne
You’ve got it friend! I’ll send you over the images :)
Laurie
Oh, so cool! I am assuming for an overnight soak, you are putting them in the fridge? Also, I so knew about the purple cabbage because I added it to a soup once when I didn’t have green cabbage on hand. I thought, oh this will be pretty, but it turned blue and did not look very appetizing at all!
Yvonne
Yes! Great question – didn’t even think to mention that. I did put them in the fridge overnight. Bummer about your soup!
Aimee Berrett
This is amazing. They all turned out beautifully, and all natural? I love it!
Yvonne
Thanks Aimee! Heck yes all-natural! Love it!
This is absolutely brilliant! Thank you so much for sharing! Pinning!
Yvonne
Thank you so much Jessica – you are so sweet!
Brandyn | Southern Distinctions
These are absolutely beautiful! And what a great lesson to teach your kids. So nice to see the use of natural dyes! I would love to feature this post tomorrow for our Easter Round-Up.
Yvonne
Thank you so much! I’m definitely going to start incorporating natural dyes from now on – I may have missed your round-up, but if not – you are welcome to feature it!
Amber @ Dessert Now, Dinner Later!
These are so cool! And you could never get those deep colors with artificial colorings.
Yvonne
I never thought of that – you’re absolutely right!
Very cool!! I love all those colors!
Yvonne
I love the colors too – so rich!
I LOVE this post Yvonne! I think the eggs are so much prettier naturally dyed as well! Awesome post. Pinned!
Yvonne
Thank you Lauren – I LOVE this post too! Seriously. It probably ranks in top three of my favs! So happy you liked it – thanks for the Pinterest love!