 I recently posted a couple quinoa recipes as I have been trying to incorporate it more in my diet. I realized that not everyone is familiar with the “grain-like” product. I learned in my research that quinoa is actually a seed! Interesting right? So if you’ve seen my Quinoa Stuffed Peppers or my Quinoa Breakfast Bake and wondered.. what’s all this quinoa about?? I’m here to help! Quinoa is insanely nutritious and a great way to make your meals healthier.
Here’s the step-by-step process of how to cook quinoa: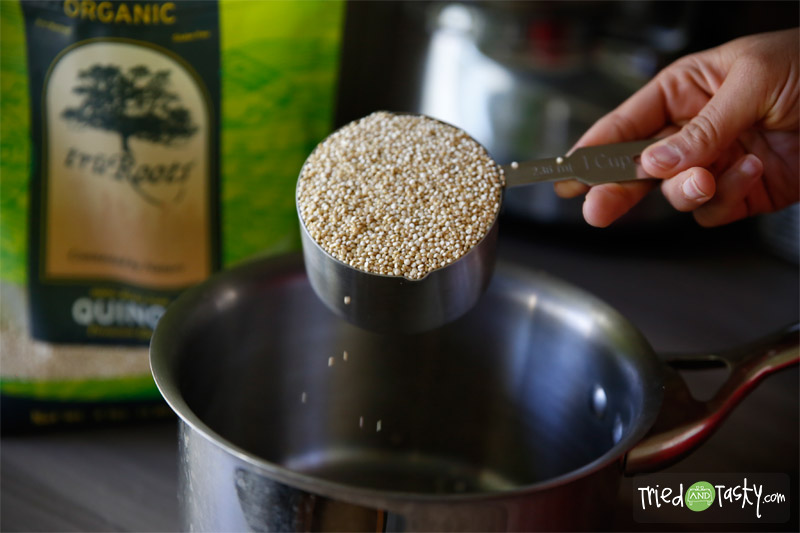 My husband and I are huge fans of truRoots products. We’ve tried their sprouted bean trio and also their ancient grains penne. Both of which are excellent. Our Coscto sells the 4 lb bag of organic quinoa for just under $10 a bag. Quinoa is a little bit expensive at your regular grocery store, we find that Costco is the best deal around. We make large batches of quinoa about every four days – once a week. Believe it or not, we go through one of those large 4 lb. bags a month! I know I’ve mentioned it before, but my husband adds quinoa to his breakfast protein shake every morning. I tried to jump on that band wagon a little while ago and just couldn’t hang with it. I’ve since decided to try an incorporate quinoa in to my lunch and dinner recipes.
 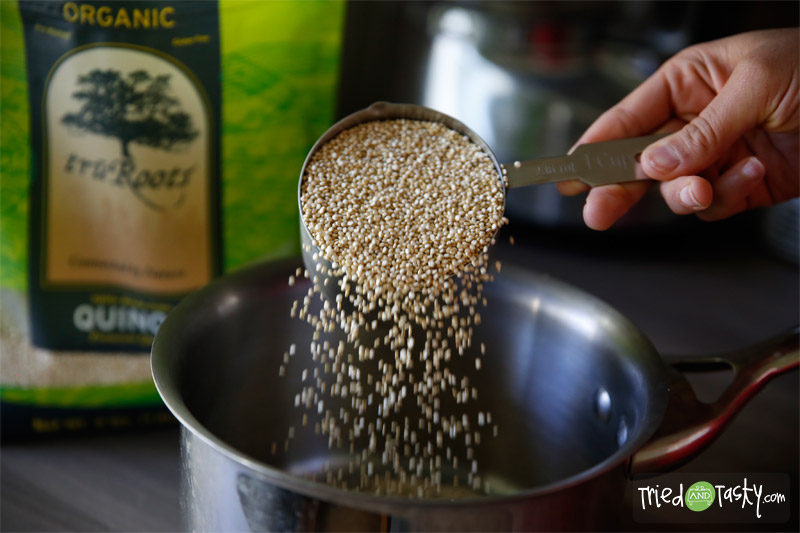 You will measure out 3 cups of quinoa into a large saucepan. Adjust your measurements accordingly, unless you would like to make a large batch as well. One of the reasons I would love use quinoa more in the kitchen is because it has all nine essential amino acids, which means it is a complete protein.
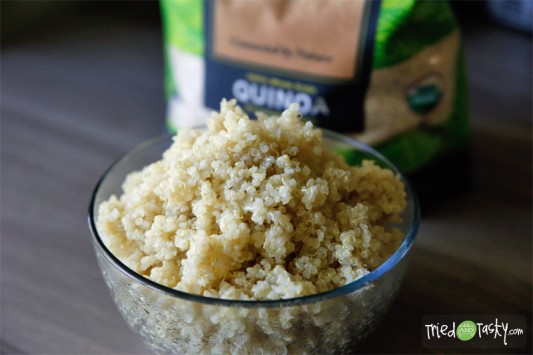
 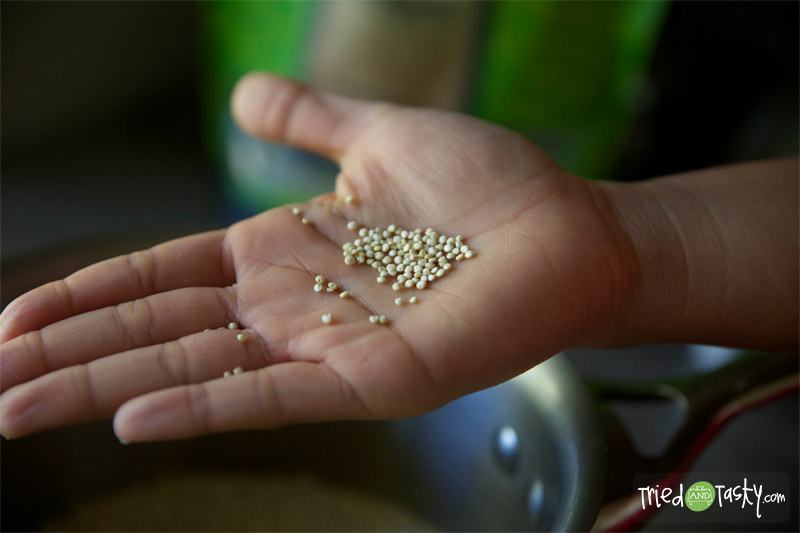 It looks like little seeds when it is dry and then when it’s done cooking it will have expanded in to a soft rice-like texture. Another reason quinoa is so great is that it is gluten-free and cholesterol-free!
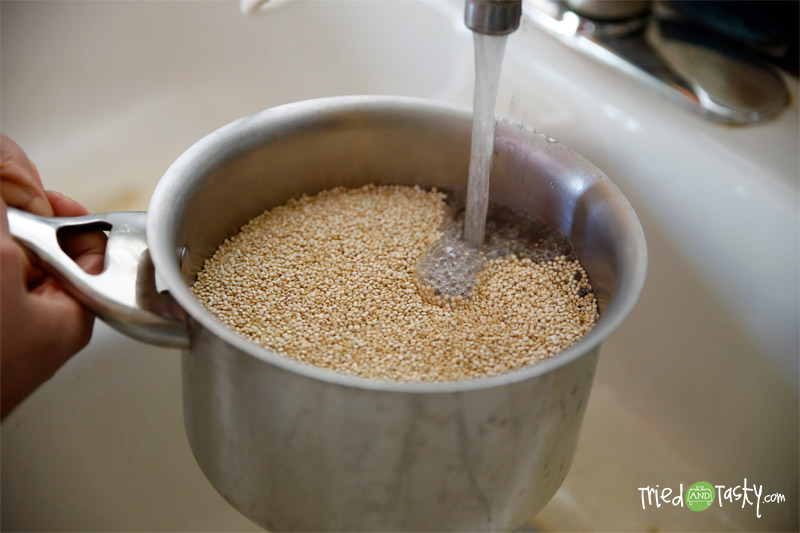 Here’s one of the most important steps: rinse, rinse, rinse. Literally. Three separate times we rinse our quinoa. Even though the packaging says “pre-washed” you will not want to skip this step. This is important because there is a bitter coating on the quinoa called saponins. It will easily dissolve when rinsed. Not only that, by rinsing, you releasing the inedible parts that weren’t removed during the packaging. Run your pan under a fausett adding enough water to cover your quinoa plus a few inches.
 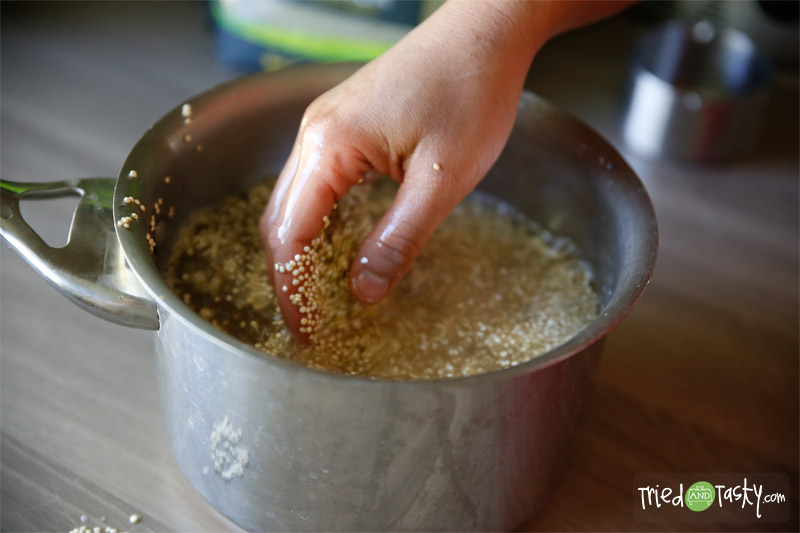 You will then run your fingers through the quinoa getting everything nice and moved around.
 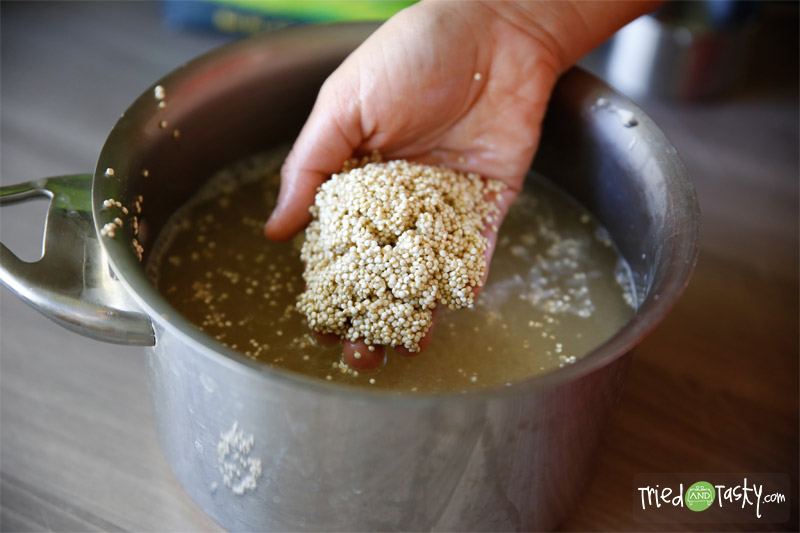 It’s kind of fun to have an excuse to play with your food.
 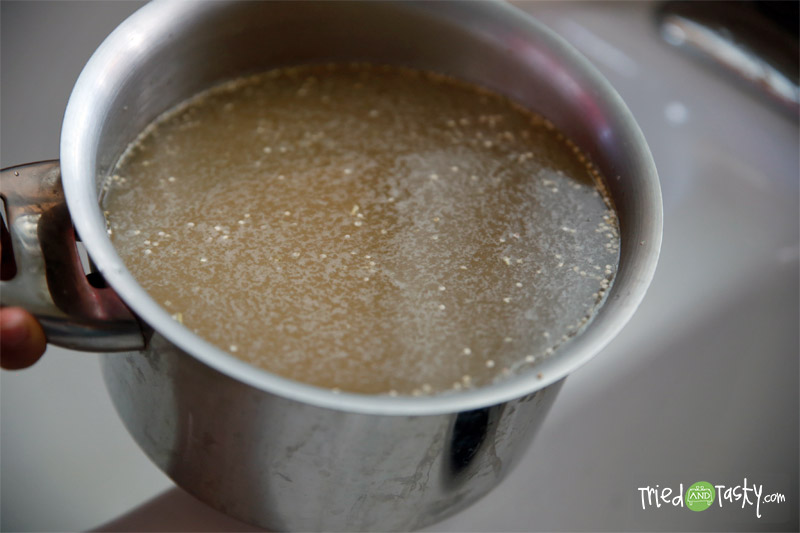 The particles that float are the things you will want to get rid of.
 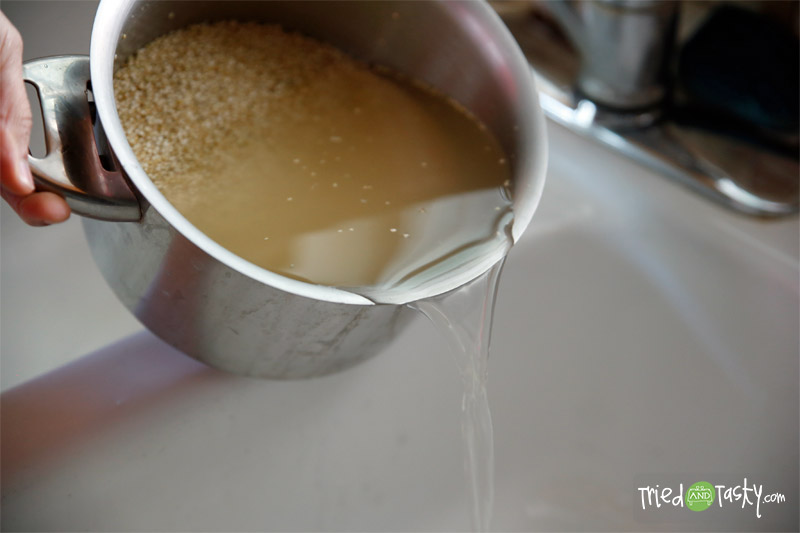 Slowly drain off the water in to the sink. You don’t need to remove all of the water, just most of it.
 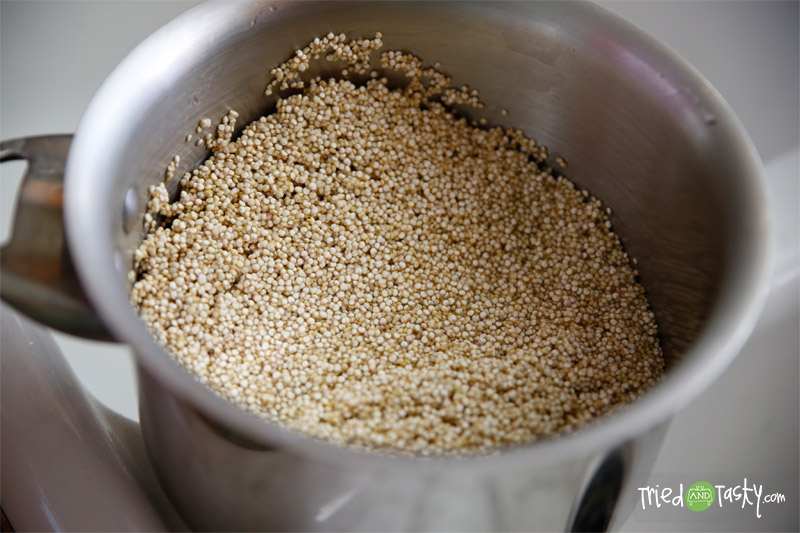 Once the water has been drained you will repeat the process until you’ve done it three times. Again, even though your quinoa may say that it has been pre-washed, this will help get rid of anything that will lessen the taste of your cooked quinoa. It may seem excessive, but in the end you will get a great result.
 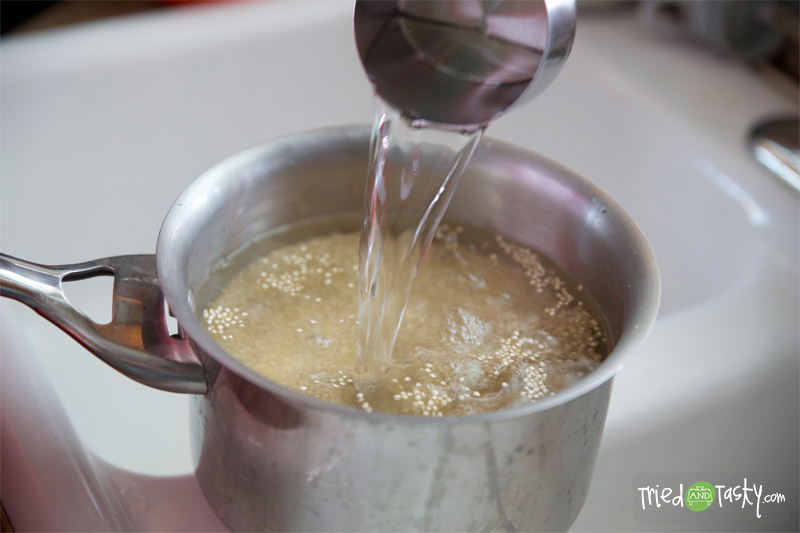 For the final stage, we add filtered water instead of tap water. You will measure out 5 1/2 cups of filtered water (if you have a water filter, or filtered water available otherwise you are certainly fine to use tap water).
 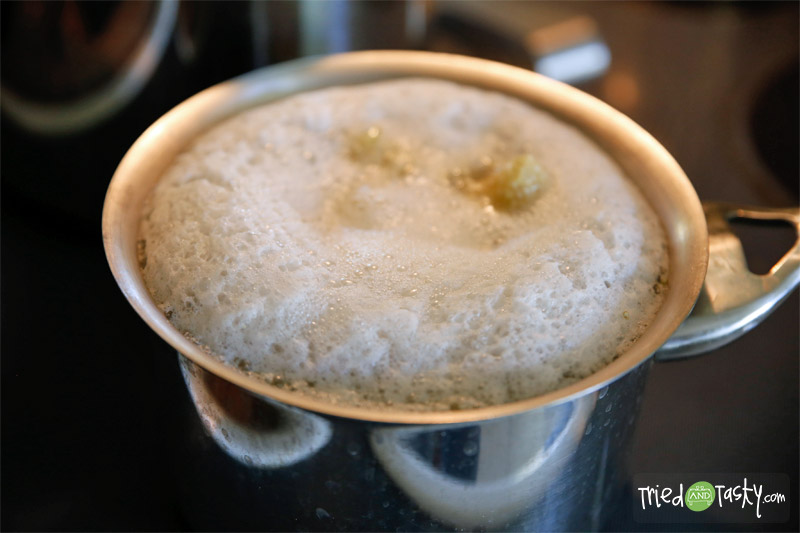 Bring your quinoa to a boil. Remove from burner for a moment and turn heat to low. Return sauce pan to burner and simmer on low for 15 minutes; cover with lid.
 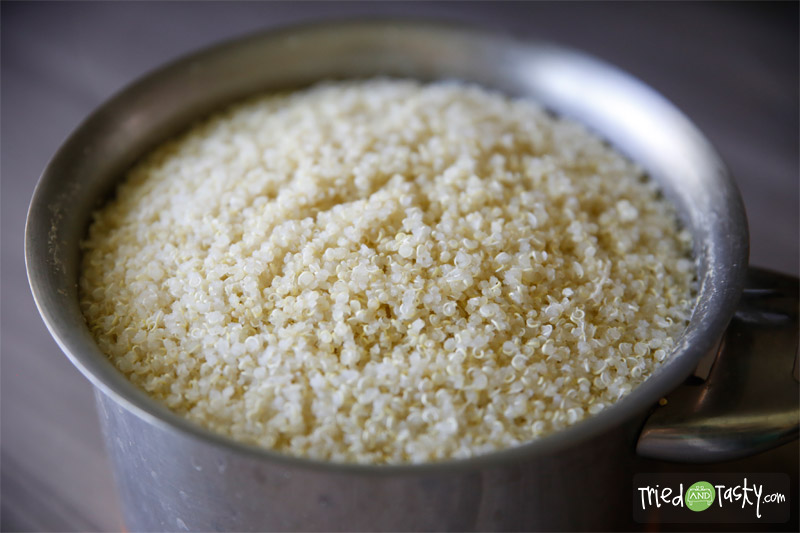 After 15 minutes you are ready use your quinoa however you like. As I mentioned earlier, we just store it for the week. When cooled (about an hour) we divide it in half and freeze one half and refrigerate the other. Having the cooked quinoa in the fridge readily available at any time makes it really easy to add it to any meal.
  Hopefully this will help you next time you are in the kitchen cooking quinoa. Or, maybe this will help you to not be as intimidated at the grocery store when scanning the aisle and quinoa catches your eye. If you have any questions, feel free and leave them in the comments!

Ann Gray
When I make quinoa, I dry-roast it in a Skillet for a few minutes and I cook it in Chicken broth. The roasting gives it a fantastic nutty flavor and it comes our brown instead of white even if it does not look brown after roasting
Yvonne
That sounds like a great cooking method! I love the idea of toasting it – I’ll definitely be giving this a try. Thank you!
What kind of container do you use, and how long do you usually leave it in the fridge? Is the shelf life of rinsed quinoa a week, or is it less than that? I work in food service (I’m OCD about food safety as a result), and I don’t like wasting food (low budget), so I’m always asking these kindsof question.
Yvonne
We just use a plastic tupperware. In the fridge we keep it for about a week, after it has been cooked. I’m not sure the shelf life of rinsed quinoa that isn’t cooked. I wish I knew the answer! These are great questions – thanks for asking!
I buy the same bag at Costco! LOVE quinoa. I’m always sneaking it into things. Great tutorial on making quinoa. Pinned!
Yvonne
Awesome! It’s super easy to sneak it in to stuff. Thanks for the Pinterest love!
Britney @ The Princess & Her Cowboys
Thanks for sharing this! I actually bought some at the store a little bit ago just to try it out since everyone was talking about it but haven’t got around to it quite yet. This should make it less intimidating!
Yvonne
Oh yes! This should help! As long as you follow the steps you should end up with beautifully fluffy quinoa!
I would like to know what it tastes like as well and what flavors you add to it. Thanks for the step by step!
Yvonne
Hi Summer – it’s really similar to rice (I think) but just with a softer texture. I usually only add it to recipes – so I don’t necessarily “flavor” it, although you can do just about anything with it. As far as making it in to recipe, so far my experience is limited – but I’m working on changing that!
What does it taste like? It’s EVERYWHERE online right now, but I’m not sure I want to take the plunge and buy an expensive bag and have everyone hate it… I love your step by step pictures. I’m a visual kind of person and this tutorial really helped out!
Yvonne
Hmm, I would say it is very similar to rice but with a softer texture and more of a nutty taste. You could start with a small bag, they aren’t as much as the larger bags or ever check to see if you can get it in bulk and just buy a little bit. I’m so glad this tutorial was helpful!
Well shoot! I never rinsed mine b/c the bag said pre-washed. And I gave my quinoa away b/c I hated it. Maybe that’s why.
Yvonne
I bet that’s probably why you didn’t like it! If you don’t remove those inedible particles it will affect the taste, that’s why the rinsing is important! We may have solved the case – you should give it another shot!
Kristy
Do you flavor it when making it as a side dish or do you eat it as is?
Thanks. I needed to learn this. I have been afraid to try it.
Yvonne
I’m glad I could help! Until breaking it down, I didn’t realize how important all of the steps were to get a great result!
Yvonne
I have yet to eat it as is, I typically make it in to something instead of just serving it as a side plain – but that’s just my preference.
christine
Is it pronounced ke-no- ah or keen-wa???
Yvonne
It’s pronounced: KEEN-wah :)